Lesson 6
Branch Experiments
Use Git branches to try risky GameMaker changes, stash unfinished work, and merge successful experiments back into main.
Branching out
So far we’ve learnt how Git can be used as a safer way to back up your project, but it has many other useful features besides that.
One of the most useful is the ability to make “branches” in your Git project.
A Git branch is a safe way to try out an experiment or sequester work on a feature without disturbing the state of your project.
You create a branch and “move” onto it. Any commits you make belong to that branch. Uncommitted changes are a little messier, which we’ll see later in this lesson.
You can switch back to main at any time, and your project files will change back to match main. Change back
to the newly created and worked in branch and all the changes stored in that branch will be applied to your
project once again. Doing so is simple and quick.
When you’re happy with the branch, you can “merge” it back into your main, applying all the changes in the
branch to your project properly, or if you’re unhappy with the new branch you can just delete it or simply
switch back to your main without merging, and your project won’t have changed at all.
This is a very safe way of adding features, messing around or experimenting with your project without having
to worry about corrupting it. As long as you don’t merge the experimental branch into your main until you’re
happy with it.
In reality, we’ve been working with a branch the entire time, the main branch. We just haven’t really
thought of it as a branch because it’s the only branch in the Git project, and it contains the “production”
version of our software, which just makes it inherently feel like the original course of our Git project.
Bugs and errors may break your bones, but branches will never hurt you
Let’s have a look at how branches work in GitHub Desktop.
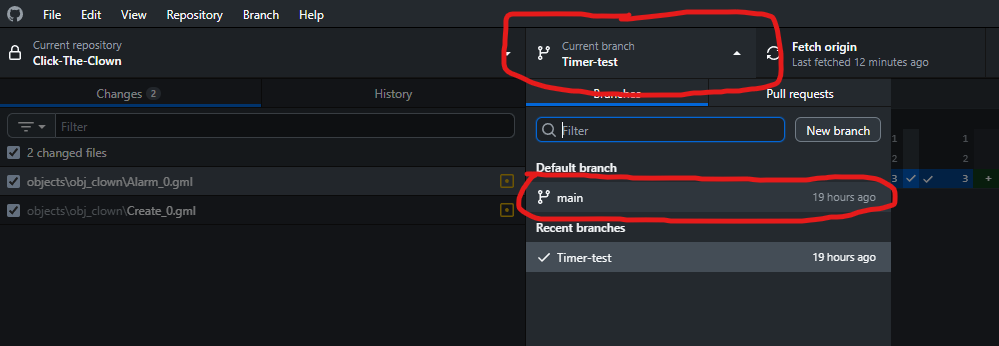
First, take a look near the top of the window, you should see a dropdown button saying “Current branch” and then something like “main”.
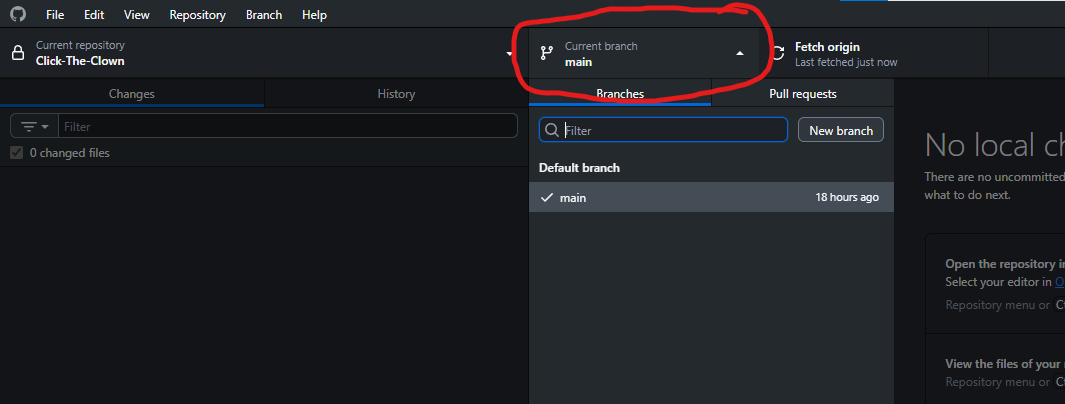
Click it and a menu will appear showing all the branches for your project. Right now, you should have only a single branch, your main one (if it’s named something different, that’s fine, but just remember the name as that’s your “core” branch).
When we create a new branch, it will appear here and swapping between branches is as simple as clicking a branch on this menu.
When you do so, the files in your project will automatically change to reflect that particular branch.
Now, on your menu bar click Branch > New Branch.
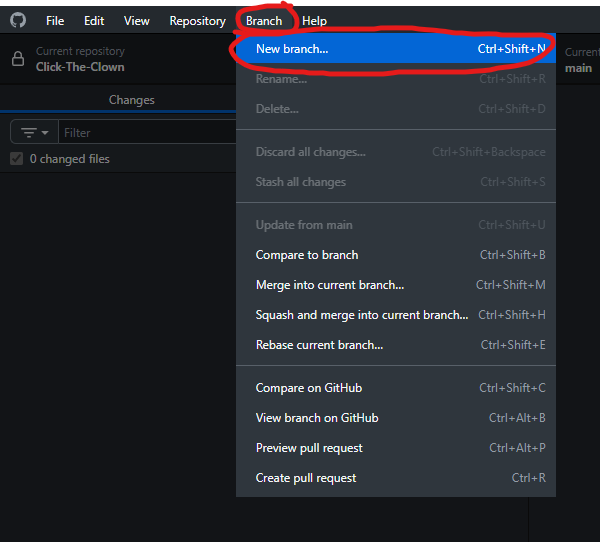
A New Branch window should pop up.
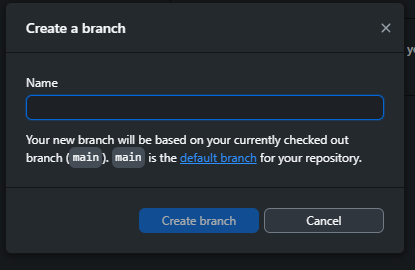
Let’s give it the name “Timer test”, and then click Create Branch.
GitHub Desktop will create the branch and automatically swap over to it.
Nothing will change about your project. It doesn’t erase any progress or anything like that. When you create a new branch it takes the state of your project at the moment of the branch’s creation as the “baseline” for the branch.
Now we’ve got a fresh branch called Timer-test (Git automatically replaces spaces with hyphens for all
names).
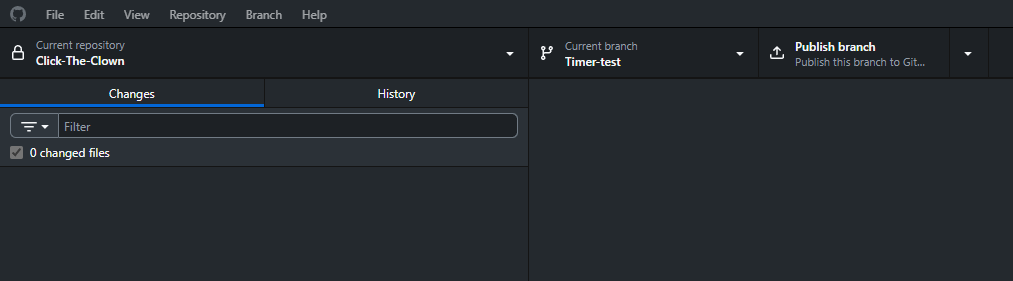
You can see how our “Current branch” button now says Timer-test underneath it. To the right of it, we can also see the Publish branch button.
This button will push our branch to our online repository as well. Let’s do that first by pressing that button.
GitHub Desktop will take a few seconds to do its thing, and now we have our online repository and local repository in sync.
So, what are we going to do for our Timer-test branch?
Well, since we called it Timer-test, let’s try out a different timing rhythm for our Click the Clown game.
Go back to GM, open up your obj_clown object and then go to the Create Event.
We’ve got two timers there, the clown teleport timer and the game end timer.
Let’s try messing with our clown teleport timer. We’re setting it to 1 second right now, so let’s try out 2 seconds.
Change this:
alarm[0] = game_get_speed(gamespeed_fps); // Clown teleport timer
alarm[1] = game_get_speed(gamespeed_fps) * 20; // Game end timer
To this:
alarm[0] = game_get_speed(gamespeed_fps) * 2; // Clown teleport timer
alarm[1] = game_get_speed(gamespeed_fps) * 20; // Game end timer
In the second code block, we are multiplying the return value of our game_get_speed() function (which,
if you’ll recall, returns how many frames the game runs in a second) by 2, meaning that our alarm will
now last two seconds.
But since we are making that alarm repeat, that means we are also resetting the alarm in the Alarm 0 Event itself. So we’ll need to open up that event as well.
We should see:
x = random(room_width);
y = random(room_height);
alarm[0] = game_get_speed(gamespeed_fps);
In our Alarm 0 Event, and let’s multiply that game_get_speed() call by 2 as well.
x = random(room_width);
y = random(room_height);
alarm[0] = game_get_speed(gamespeed_fps) * 2;
Excellent, we’ve now made it so our clown teleport has a 2 second cooldown instead of 1.
Save the project and switch back over to GitHub Desktop.
As expected, we can see those changes reflected in GitHub Desktop.

These changes live entirely in the Timer-test branch right now (or at least, they will if we commit them).
Let’s switch back over to our main branch to see what happens.
Click on the Current branch button and select main from the available branches.
GitHub Desktop will pop up with a little “Switch branch” dialog box asking us about what we want to do with our current changes.
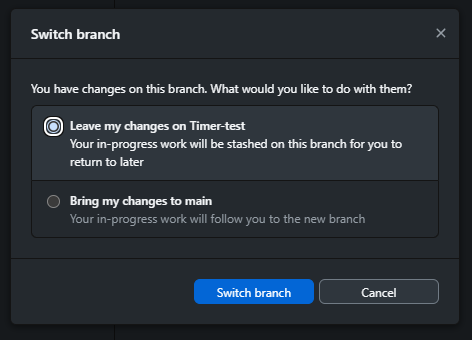
The reason is because we have uncommitted changes. If we had committed the timer changes we made, the branches would just swap over cleanly.
Since we have uncommitted changes, we need to decide if we want those uncommitted changes to be “stashed”
in the Timer-test branch or if we want to bring them over to the main branch.
The entire point of making the branch was for the changes to exist on that branch, so we’ll pick the “Leave
my changes on Timer-test” option (it should be selected by default) and then click Switch branch.
Now swap back over to GM.
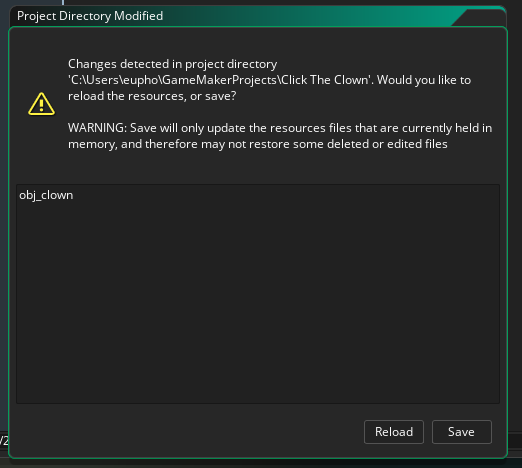
Ah, we’ve got the same “Project modified” dialog box as we did before. If we remember back to the last time we dealt with this, we need to click Reload. Always click Reload when git has made changes.
Open up obj_clown and its Create Event and we can see that our alarm code has swapped back to the
version without the * 2 in it:
alarm[0] = game_get_speed(gamespeed_fps); // Clown teleport timer
alarm[1] = game_get_speed(gamespeed_fps) * 20; // Game end timer
The same is true of the Alarm 0 Event.
x = random(room_width);
y = random(room_height);
alarm[0] = game_get_speed(gamespeed_fps);
Excellent, so we can see when we swap back to the main branch, our project files get changed back to
what it was before we branched.
If we make changes to the project at this point, we’ll essentially create two parallel but slightly
different “streams” of our project. main will contain changes that Timer-test doesn’t, and
Timer-test will contain changes that main doesn’t.
This can lead to some difficulties in the future (when we “merge” the two branches back together),
so while you’re learning, I encourage you to not work in main when you have branches you want
to work in.
Let’s go back to GitHub Desktop, and switch back to our Timer-test branch just like we did before.
Ok, that’s weird. Our timer changes no longer show up, even when we are in the Timer-test branch? What is going on?
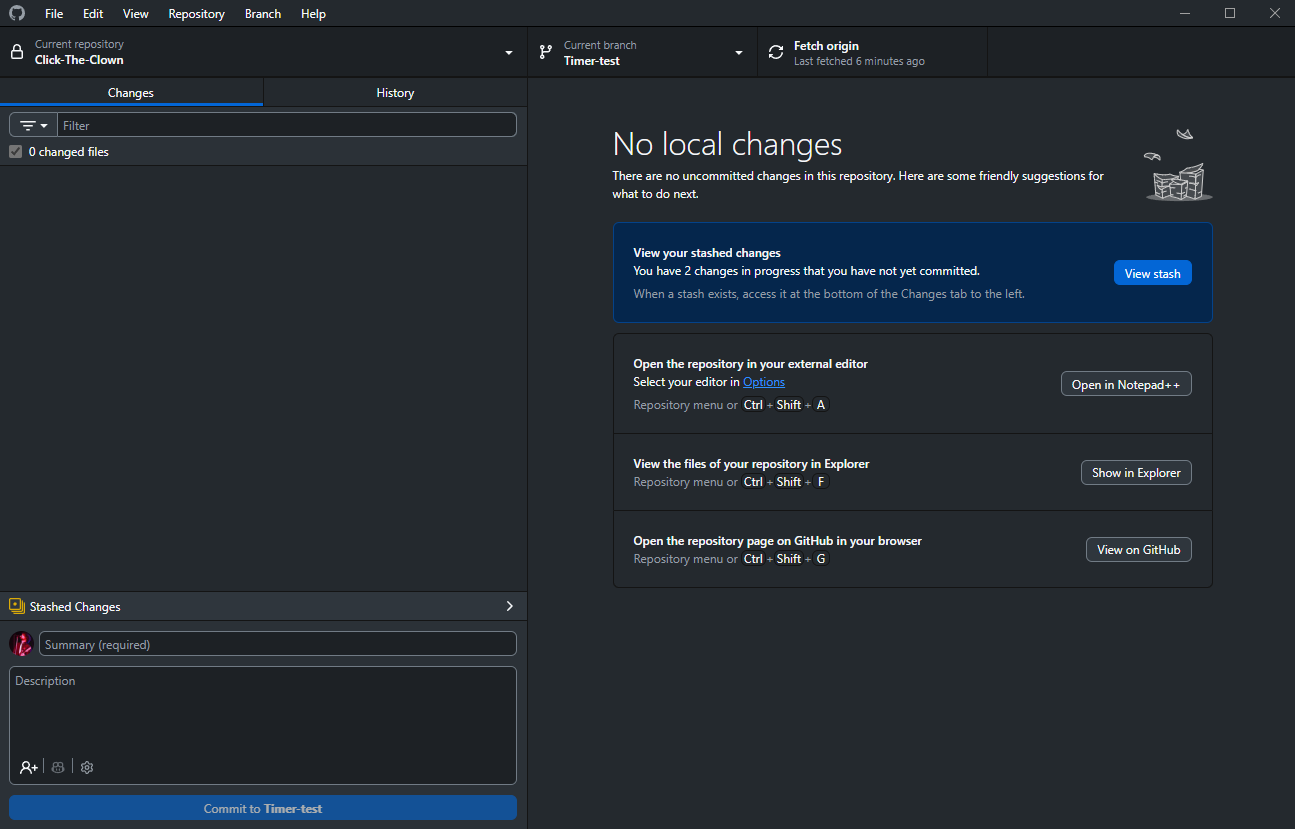
Timer-test?This is because we “stashed” them when we swapped over to main. “Stashing” is like “storing them away so they aren’t active but they aren’t lost either”.
GitHub Desktop is actually telling us that we have stashed changes, both in the little blue section of text on the right, and just above our “commit” section on the left:
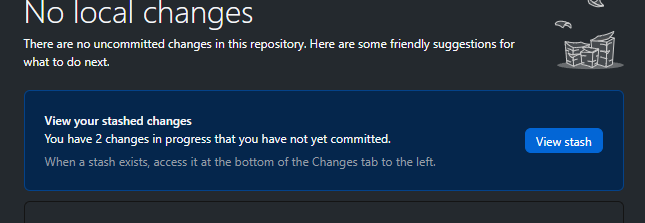
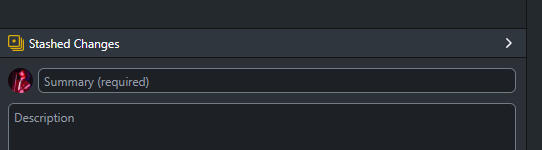
Clicking on either will open the “Stashed changes” window on the right.
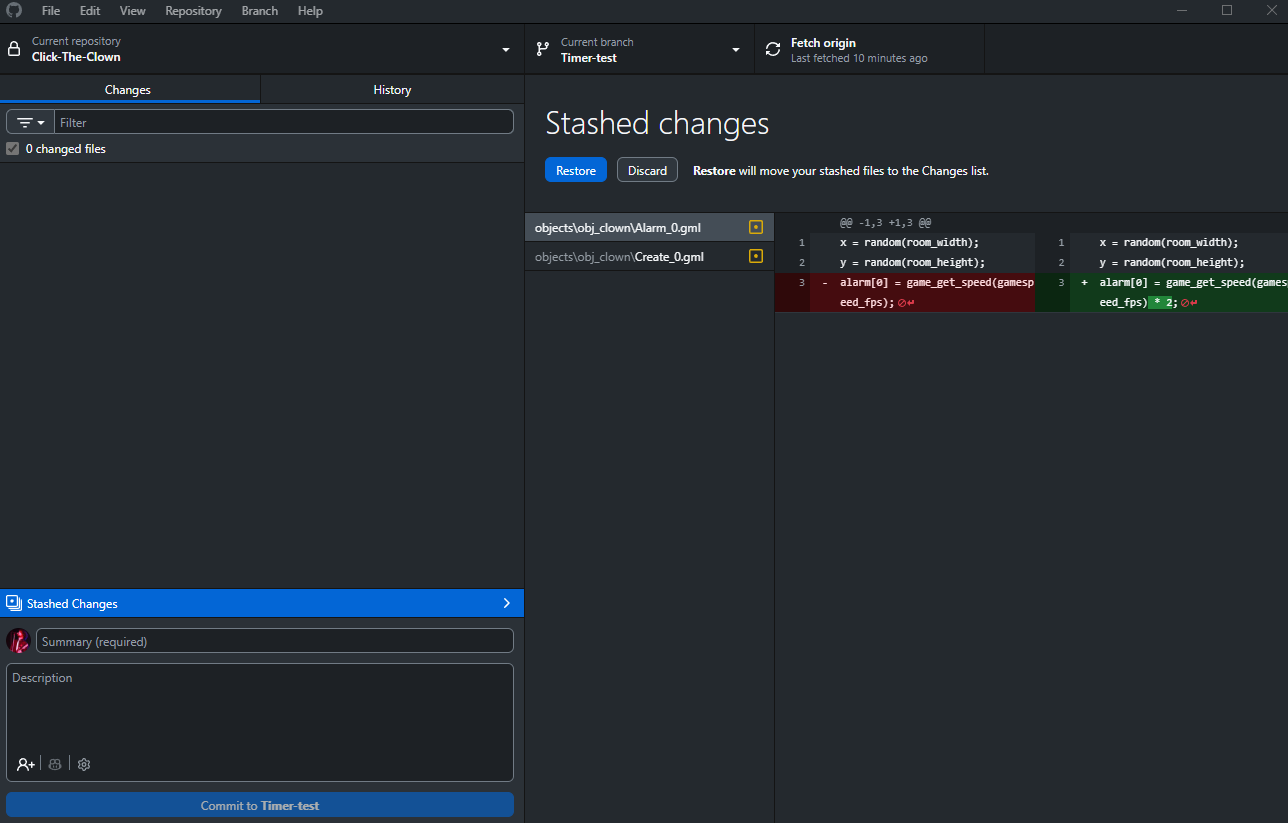
Here, we can choose to either restore or discard the stashed changes. We want to restore them.
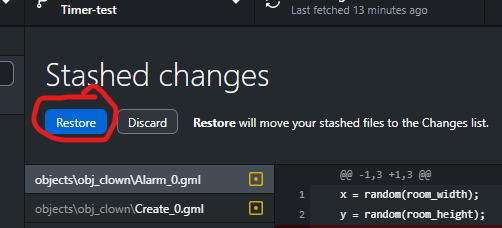
That will throw them back into our uncommitted changes like normal.
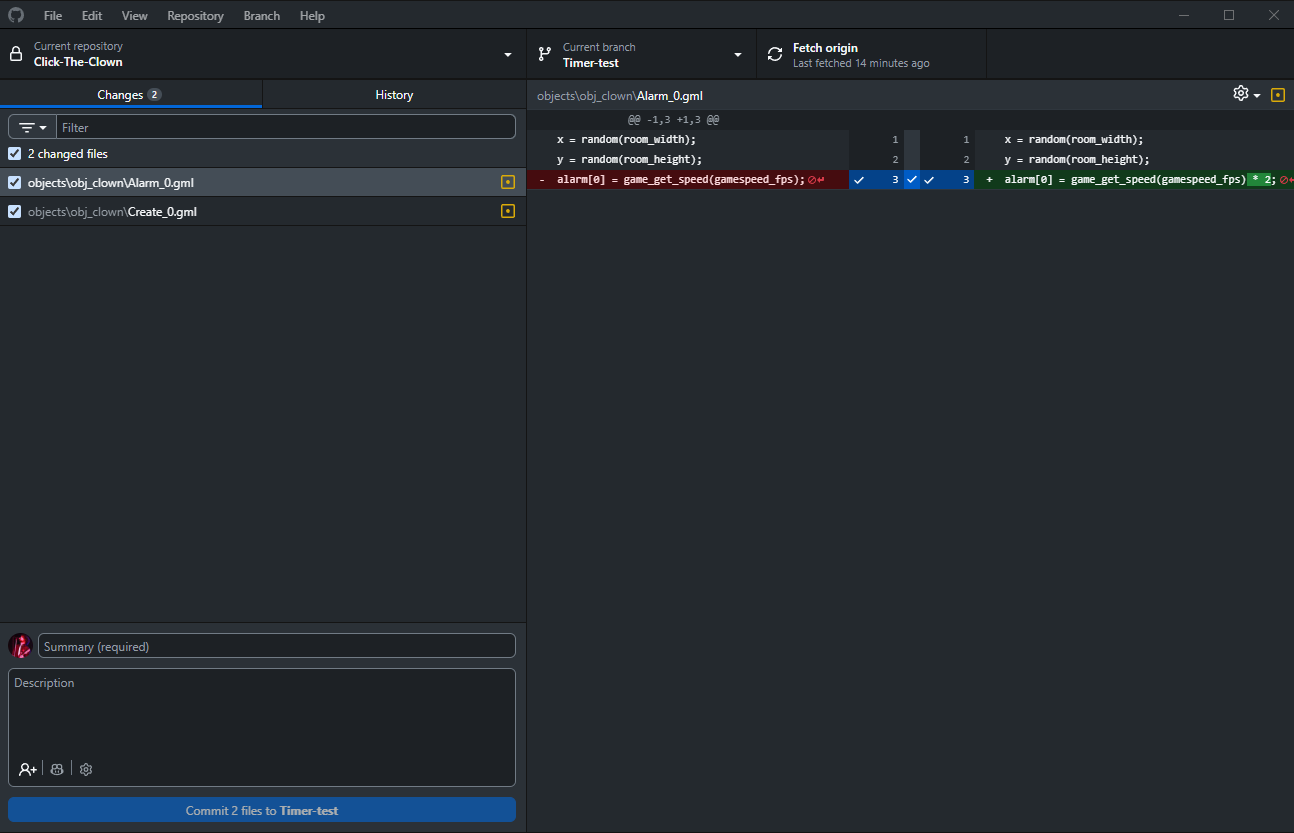
Now we can commit them. So name the commit “Teleport timer changed” and add a brief description “Changed the teleport timer to 2 seconds from 1.” and then click Commit 2 files to Timer-test.
And finally push the commit to our online repository with the top right Push Origin button.
We can check the history of the branch now if we like, just as we did before with our main branch. At this point, if we switch branches back to main it will just happen immediately because we no longer have any uncommitted changes in our branch.
Merging worlds
At this point, we have an experimental branch we can work in called Timer-test and we have our main branch saved and waiting.
If we decided we don’t like the changes in the Timer-test branch, we could simply delete the branch, or even just switch back to main and forget about the Timer-test branch.
However, maybe we like our Timer-test changes, and we want to make it so our main branch reflects the changes we have made.
To do this, we need to merge the two branches together.
Let’s do that.
First, we need to switch back over to our main branch, using the “Current branch” dropdown menu, like before.
After we are on our main branch, we want to click the “Current branch” dropdown menu again, but this time, select Choose a branch to merge into main ALL the way down at the bottom of the dropdown menu.
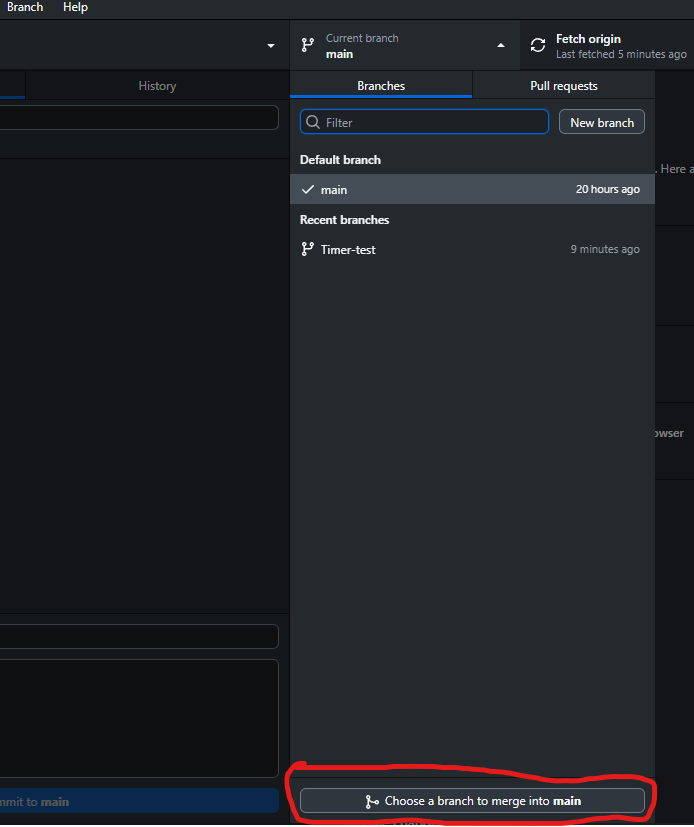
GitHub Desktop will pop up with a “Merge into main” window:
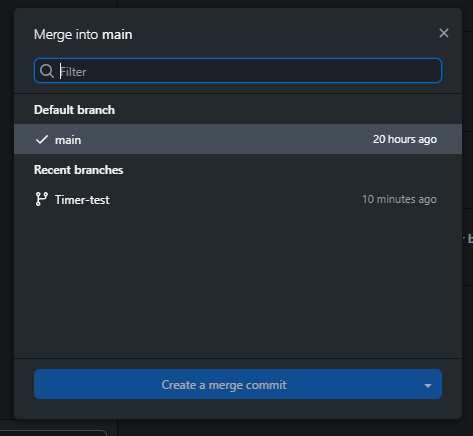
We want to select our Timer-test branch and click Create a merge commit.
This brings the commits from Timer-test into main, so main now includes the timer changes too, in essence, merging the two together.
Merge conflicts
At this point, I feel it’s important to note that it’s possible to get “merge conflicts” when merging one branch into another.
A merge conflict is where the two branches being merged (main and Timer-test, in this case) have diverged in such a way that Git is not sure how they should fit together.
An example of this might be if, after creating the Timer-test branch, we changed our teleport timer in main to 3 seconds, while also changing the teleport timer in Timer-test to 2, like we did.
Git wouldn’t know which of those two changes we wanted to be the overriding change, and so we would get a merge conflict. We have to manually fix this outside of GM (using software like Notepad++ or VS Code), which can be difficult for beginners.
That’s why I always recommend that once you make a branch, stick with that branch until you have either finished what you wanted to do in the branch, or have decided the branch isn’t good and you aren’t going to merge it. Then either merge it, delete it or ignore it and only then swap back to main to continue work at that point.
If you don’t make any changes to main while working in another branch, you won’t have any merge conflicts to worry about when you merge the other branch into main.
Once you become more experienced at programming, then you can decide if you want to work in multiple branches at once and risk having to solve merge conflicts or not.
For now, keep branches simple.
Make a branch when you want to try something risky. Work on that branch. Commit your changes. If you like the result, merge it back into main. If you don’t, leave it behind.
That’s enough branching knowledge to make experiments safe and easy.