Lesson 3
Your First Change
Make a change to your project and then save that change locally with GitHub Desktop.
C-C-C-changes
Let’s make a change to our project.
Open up the Click the Clown project in GameMaker.
We’ll change the text in our game slightly. So double click on the obj_clown object asset to open it up. Now open up our Draw GUI event. Let’s change the text to say “points” instead of “score”.
Find this string:
var _str_score = "Score " + string(global.points) + " (High score " + string(global.max_points) + ")";And change it to this:
var _str_score = "Points " + string(global.points) + " (High score " + string(global.max_points) + ")";Super easy and simple change.
Save the project, and now let’s open up GitHub Desktop again.
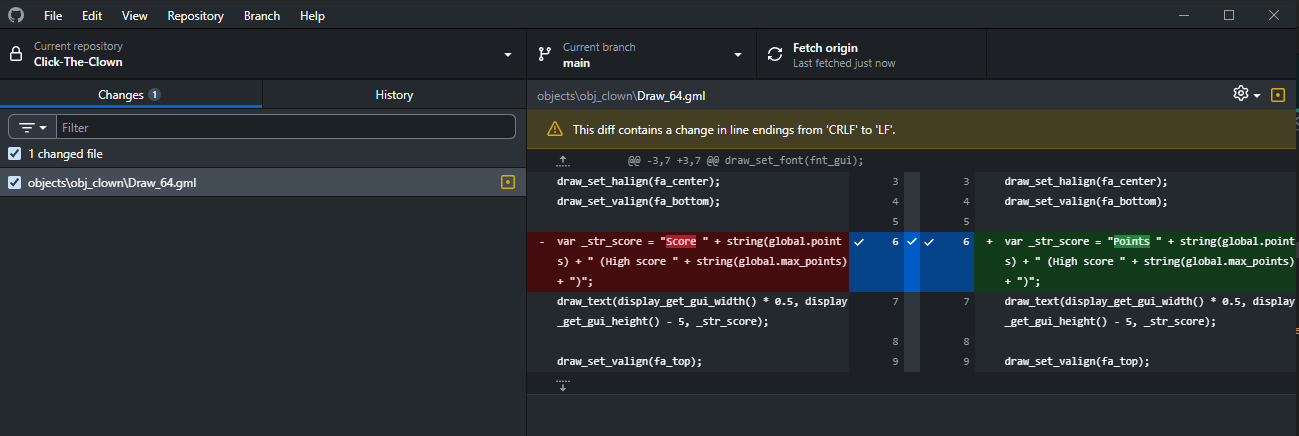
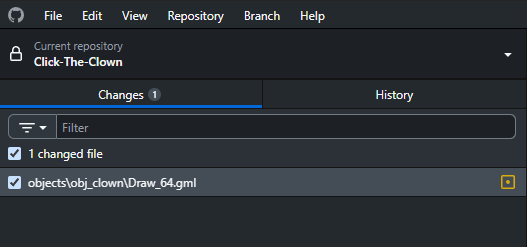
Ok, that’s interesting. We’ve got something showing up in GitHub Desktop. On the left, you can see the file
that was changed: objects\obj_clown\Draw_64.gml. We can see that it refers to our obj_clown asset, stored
in the objects folder, and the actual file that was changed is Draw_64.gml (Draw_64 is GM shorthand
for the Draw GUI event).
You can have a look at the project structure in File Explorer if you want. You’ll notice that objects are stored
as folders (there’s extra metadata for them stored elsewhere), and each active event has its own .gml
file, and there’s a .yy file for the overall object. The .gml files are literal plaintext versions
of the code you have put in the event. All the .yy files (and their variants) tend to be in a format
called JSON, which we’ll actually be using in future courses.
On the right-hand side, we can actually see exactly what changed about the file.
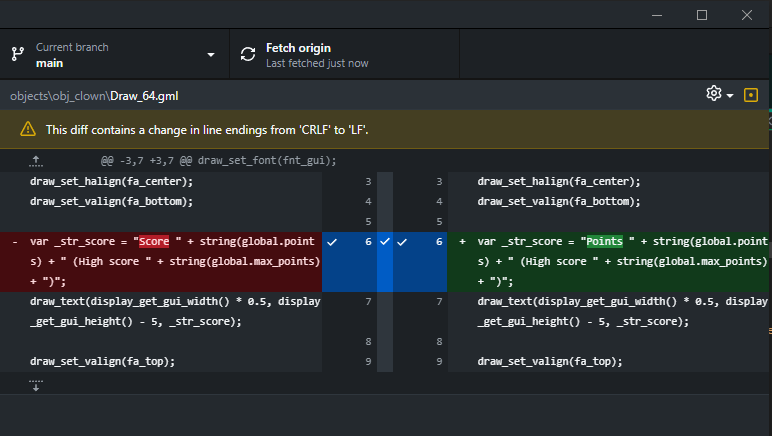
The display is split in two, with the left-hand side being removals, and the right hand side being additions. The coloured highlighting shows the exact line that was changed.
We can also specifically see that there’s extra highlighting on the “Score” text on the left, and extra highlighting on the “Points” text on the right. This further helps pin down where the change occurred inside the line that was changed.
In other words, we changed “Score” to “Points”.
Finally, you’ll see some blue sections with checkmarks in the middle. This tells GitHub Desktop whether this file should be included in the commit. For now, we’ll leave it checked, because we want these changes to be saved.
Commitment as a philosophy
In Git parlance, the edit we have made is an uncommitted change. What that means in real speak is that Git has noticed this change but it hasn’t been saved to the Git repository yet, so if something bad happens now, we cannot use Git to restore it.
Let’s fix that.
At the very bottom of the left-hand side, you’ll see a few text boxes and a button labelled Commit 1 file to main.
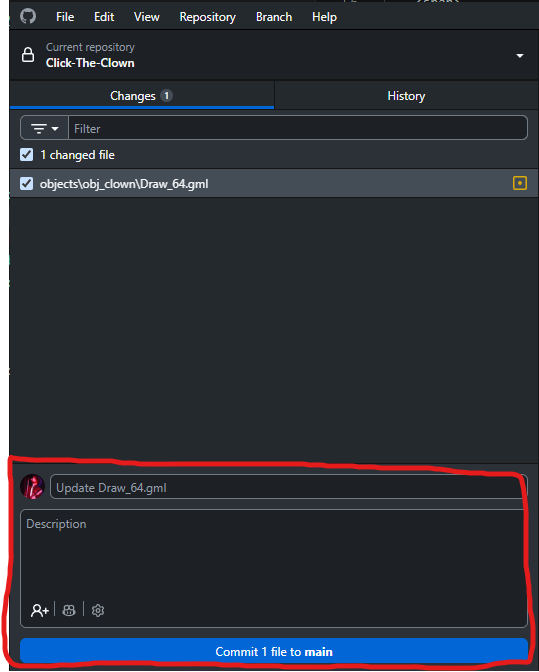
“Commit” is Git-speak for “save these changes as a checkpoint in the local Git repository”.
The upper text box is the commit name. This is what shows up when you pull up a list of all your previous commits. It should be relatively short, but descriptive enough that you recognise what changed in the commit.
The bigger text box below that is the description. Go wild here if you want, you can outline all the changes you made, leave little notes for yourself, whatever.
We need at least a commit name to actually make the commit, so we’ll give it a name:
Updated score textLet’s add a description as well:
Changed the "score" text in the main play section of the game to "points".Finally, let’s click Commit 1 file to main.
And we’re done.
The changes should disappear from the GitHub Desktop interface, and we should be essentially back to the same screen we saw before we made any changes.
Git now has a record of your initial project, and then the changes you made in that commit. As you add further commits, it’ll keep track of all of them.
At this point, everything is still local, so it’s version control, but it’s not safe as a backup. Git can help us recover from mistakes we make in the project (perhaps we delete an object by accident, or some corruption happens that makes us lose the code in an event), but it cannot yet help us if the whole folder is deleted or the hard drive fails.
In the next lesson, we’ll look at publishing our changes online to GitHub, giving us a much safer backup.